
This article is part of a three-part series.
In Part 1 of this blog series, we explored bare-metal server bootstrapping, and introduced a tool called Tinkerbell, from Packet, which simplifies this process. Here in Part 2, we put in practice all the theory from the previous post to build our own mini data centre and see what it can be used for. In Part 3, we will discuss the future of the on-premises data centres and what role they can play in the Cloud Native world.
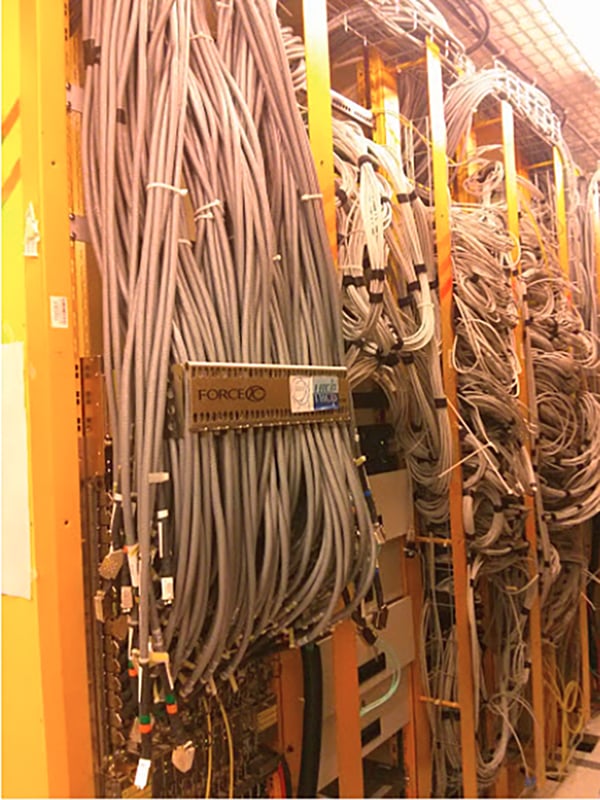
For years I worked in High Performance Computing (HPC) data centres. The sight of thousands of servers running continuously and solving complex equations was awe-inspiring. Data-centre setup requires a wide range of skills, from cable to configuration management, to overcome the innumerable challenges hidden by the shiny web interfaces provided by cloud providers.
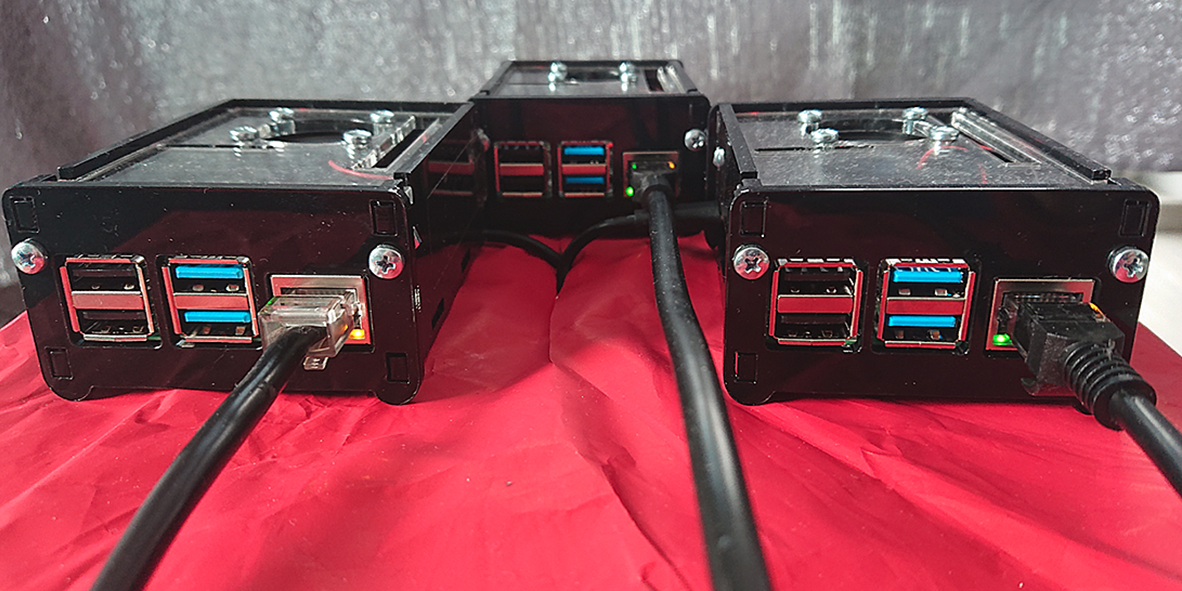
For some time now, I have dreamt about creating my own mini data centre. Luckily, with the rise of single board computers—Raspberry Pis and similar—it is easily achievable and doesn’t cost a fortune. I am currently working a lot with Kubernetes and other Cloud Native technology, so I wanted a lab where I could quickly assess different solutions.
Building the Homelab
My eyes turned towards the freshly released Raspberry Pi 4b (RPi), with 4GB of RAM and processor clock running at the rate of 1,5 GHz. An important feature of the 4B edition is the 1Gbit/s LAN port, which no longer shares the same bus as the USB ports.
My plan for the lab is to provision a three-node cluster: one master and two workers, which is a pretty standard setup for home applications. Since I am lazy and I don’t want to repeat the same steps each time I provision a new worker or master, I decided to implement netbooting with image provisioning, a feature normally only found in real data centres.
In the previous post in this series, we introduced Tinkerbell, an open-source tool for provisioning bare-metal servers. In this post I decided to try it out in the battlefield and see how it will work with Raspberry Pis—and to verify Packet’s claim that it works with any CPU architecture. My expectation was to have a nice workflow that will allow me to easily add new workers/masters to the cluster.
For this purpose, I decided to use a simplified Kubernetes distribution called k3s, which was designed with IoT use cases in mind and has good support for ARM architecture. In addition, installation is way simpler than the standard kubeadm procedure.
A Timely Upgrade
When I started this project, the Raspberry Pi (RPi) version 4 didn’t yet have an operational PXE distribution. That situation made it quite tricky to fully profit from Tinkerbell and its in-memory operating system osie, used for executing workflow.
But in May, the uefi firmware for RPi4 was released, making it much easier to benefit from PXE. The only steps to perform in order to make Tinkerbell work with UEFI and its PXE boot option were to configure UEFI to use the device-tree standard for describing hardware, and to prepare a custom kernel and initramfs so it supports RPi4. Fortunately, you don’t have to do the latter yourself because I prepared it for you here.
Building the Workflow

The next step is to write a workflow that will write the OS and Kubernetes to the RPis SD card. The goal of the workflow is to provision a fully operational Kubernetes cluster on top of the Raspberry Pis and ensure new workers are added automatically when connected to the network. In order to do that, I created the following simple workflow
- Erase the partition table on the inserted SD card.
- Install Raspbian OS.
- Configure the operating system to connect automatically to WiFii and disable unneeded services like Bluetooth etc.
- Install k3s.
- Reboot the machine to use the new OS.
Once the workflow and appropriate Docker images were created, it was possible to link the target hardware description with the workflow template. After powering up the RPi and connecting it to the network, we could watch the magic happen (if you're reading this on mobile, you can download a bigger version here):

The master node was installed and configured completely automatically. After the master has started, we could power up both of the workers and see how they join the master without requiring any manual steps (download a bigger version here):
Tinkerbell helped us to create a fully automated workflow and as a result to deploy a scalable Kubernetes cluster. It is a great benefit to have a single point of control over how the machines are provisioned.
If you are interested in building your own homelab with Raspberry Pis and Kubernetes, have a look at this repository, where I describe step by step all the instructions required to achieve it. Of course, this is just a beginning and there is a lot more that could be done—for example replacing the unreliable SD cards with fully network provisioned disks.
A Real Use Case: A Plug and Play CI/CD Cluster
OK, it is fun to have your own fully automated Kubernetes cluster. But what can this cluster be used for? Definitely an important point of building from scratch is the opportunity to gain new skills and deepen knowledge, which can later be used in professional life.
One interesting use case is to have your own private CI/CD platform. Such a private cluster could be used in CI/CD pipelines, for example with Gitlab. Of course, in order to integrate it with Gitlab infrastructure, we would need to first register it in our Gitlab project. The best to do this is to follow the official documentation and follow steps from here.
ARM Forgotten Again
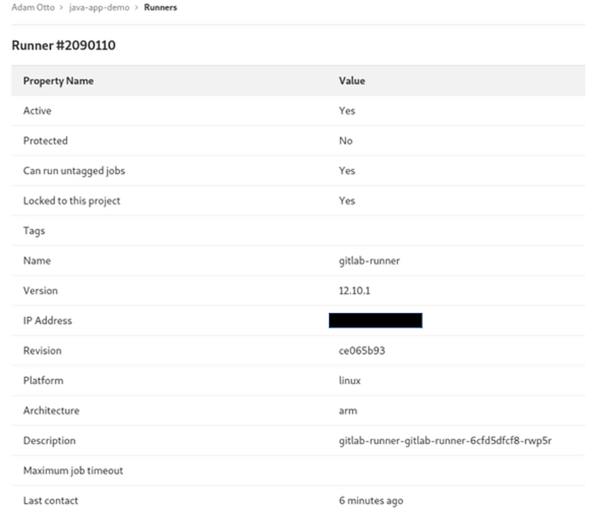
Unfortunately, there is an unwanted twist, the official gitlab-runner does not support arm64 architecture and any attempt to run it ends with Exec Format Error. The only way to fix it is to actually recompile gitlab-runner source for armv7 architecture. Luckily you don’t have to do it by yourself, because I did it for you, and you can use the Docker image and instructions for building and running available here.
After following the instructions, the runner will be registered in Gitlab.com and you can use it right away (download a bigger version here):
This runner can be used for executing Gitlab pipelines directly on the RPi cluster. This is useful if you build projects that you would like to keep completely private and confidential, or if you don’t trust the Gitlab shared runners. (Download a bigger version here.)
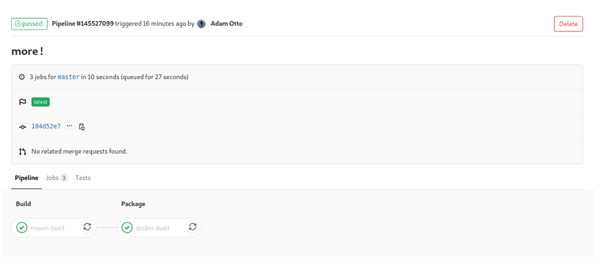
Another key point of such a setup is that pipelines are executed on the ARM infrastructure, so it makes it easier to run architecture-specific integration tests without worrying about emulating ARM processor instructions. With IoT appliances on the rise, using your own hardware can be a cost-efficient and appealing alternative to renting from third parties.
All the code in this article used to create a homelab is available here.
Next: In Part 3 of the series, Adam discusses hybrid cloud and integrates his homelab with Google Cloud Platform.
Photos by Adam Otto